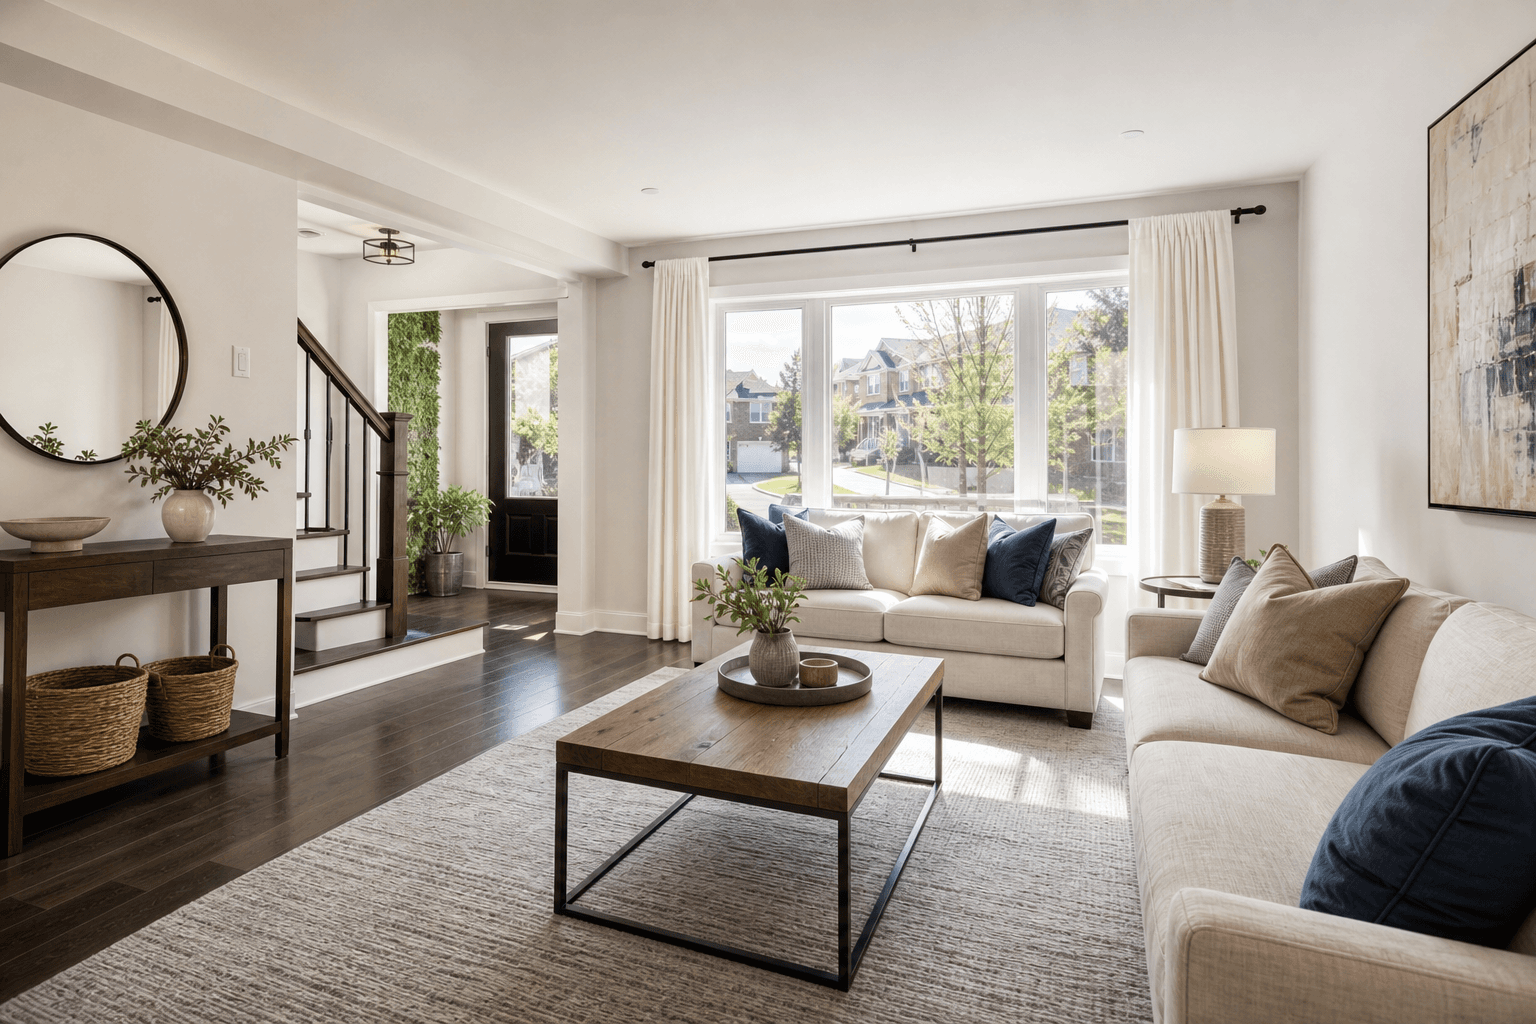
Prepare your Mississauga home to sell with a seven-point staging checklist covering decluttering, cleaning, repairs, photos, showings, and listing readiness.
Staging does not mean renovating every room or buying expensive furniture. For most sellers, the best starting point is to make the property clean, functional, safe, easy to understand, and visually calm before listing photos and showings.
This staging checklist for sellers focuses on what buyers notice, what may create doubt, and what information they may ask for later. The goal is not perfection or a guaranteed result. It is to present the property thoughtfully while avoiding improvements that do not fit the home, timeline, or budget.
How to Prioritize Your Seller Preparation
Divide each project into one of three categories:
- Essential preparation: Work involving cleanliness, safety, visible damage, strong odours, poor access, or obvious neglect.
- Helpful improvements: Lower-cost changes that make the property easier to view, photograph, or understand, such as reducing furniture or replacing tired hardware.
- Optional upgrades: Renovations or decorative changes that may be attractive but are not clearly necessary for listing readiness.
Prioritize work buyers will see repeatedly in photographs and during showings. Consider the property’s condition, your timeline, the cost, and whether the improvement solves a clear problem. This helps prevent an appealing but unnecessary project from taking over your preparation plan.
1. Declutter and Depersonalize the Property

Decluttering helps buyers understand size, layout, storage, and possible uses. Remove items that block pathways, overwhelm surfaces, or make a room appear smaller.
Work room by room. In living areas, reduce excess seating, stacked magazines, visible cords, and oversized décor. In bedrooms, clear dresser tops, reduce open clothing storage, and keep walkways open. In kitchens, limit countertop appliances and remove rarely used items. In bathrooms, store personal products and leave only a few practical items visible.
Do not empty the property so completely that it loses function. Buyers should still recognize a dining area, office, bedroom, storage space, or family room. For condos, include balconies, lockers, parking areas, and entry storage. In occupied homes, pack nonessential belongings early and store them off-site or without interfering with access.
Depersonalizing does not require removing every sign of daily life. It means reducing highly personal displays and visual noise so buyers can focus on the property.
2. Complete a Targeted Deep Clean
Cleanliness helps buyers evaluate the property without distractions. Focus first on areas that are highly visible, frequently touched, or likely to signal maintenance concerns.
- Clean kitchen counters, cabinet fronts, appliances, sinks, backsplashes, and floors.
- Scrub bathroom fixtures, shower doors, grout, mirrors, exhaust areas, and floors.
- Wash windows where practical, clean tracks, and remove marks from doors and walls.
- Vacuum or mop floors, including corners and areas beneath moved furniture.
- Dust light fixtures, vents, baseboards, shelves, and horizontal surfaces.
- Check for odours from cooking, pets, smoke, dampness, garbage, or stored materials.
Inspect the home in daylight and under the lighting used for photography. A home can appear clean at a glance while still having fingerprints, streaked mirrors, dusty vents, or residue around fixtures. If a condition suggests moisture, mould, or a mechanical problem, seek appropriate professional advice instead of concealing it.
3. Handle Visible Repairs and Safety Concerns
Small defects can draw disproportionate attention in photographs or during a showing. Record loose handles, damaged hardware, peeling surfaces, broken lights, sticking doors, cracked covers, loose railings, and unfinished patchwork.
Prioritize anything affecting safe movement, basic function, water management, electrical use, or a reasonable maintenance concern. A loose stair railing, leaking tap, or damaged entry step deserves more attention than a dated but serviceable finish. When the cause or risk is uncertain, arrange suitable professional inspection or repair.
Use restraint with larger renovations. Replacing an entire kitchen, bathroom, floor, or basement finish involves cost, time, and personal taste. Before committing, compare the project with the property’s overall condition and expected listing timeline. A clean, functional, well-presented space may be a better preparation decision than an unfinished renovation.
4. Improve Curb Appeal and the Entry Experience
The exterior and entrance establish the first physical impression. They do not need to look elaborate, but they should appear cared for and easy to approach.
For a house, clear walkways, remove seasonal clutter, clean the front door, check exterior lighting, and make the entrance easy to find. Put away tools, bins, hoses, toys, and unused outdoor items. Keep lawns, gardens, patios, and decks orderly without adding expensive landscaping solely for the listing.
For a condo, exterior and common-area decisions may be controlled by the building or property management. Concentrate on the unit entrance, balcony, storage areas, and anything you are permitted to clean or organize. Do not alter shared spaces without confirming building rules.
Inside the entrance, remove excess coats and shoes, clean the floor, check lighting, and keep the path to the living areas open.
5. Prepare Every Room for Photos and Showings
Each room should communicate its purpose quickly. Arrange furniture so pathways are clear, room scale is visible, and windows or useful features are not blocked. Open blinds where appropriate, replace burnt-out bulbs, and avoid dark corners.
In living areas, keep seating conversational and reduce oversized pieces. In bedrooms, make the bed neatly, remove excess furniture, and show closet access. In kitchens and bathrooms, clear surfaces and make storage, fixtures, and finishes easy to inspect. Basements, offices, garages, balconies, and storage spaces also need attention because buyers may assess function and capacity there.
Do not turn every room into a generic display. An office should still look usable, and a child’s room can remain practical while being less crowded. Vacant properties may need a different approach because empty rooms can make scale and function harder to judge.
Before photography, remove personal documents, secure valuables, and decide how pets will be managed. Before showings, repeat the review because daily use quickly returns items to counters, floors, and entryways. For more room-by-room ideas, review these staging tips for sellers, then adapt them to the property.
6. Organize Property Information Before Marketing
Preparation is not only visual. Create a property file that gathers useful facts and identifies questions needing answers before marketing begins.
Depending on the property, include upgrades, approximate dates of work, appliance information, maintenance records, warranties, manuals, inclusions, exclusions, keys, remotes, and access instructions. Note unresolved repairs or areas requiring professional confirmation. Do not guess at dates, measurements, costs, or technical details.
Condo sellers should organize available building and unit information, including relevant notices, fees, parking or locker details, renovation records, and documents a buyer may reasonably ask to review. Requirements vary by property and transaction, so treat a general checklist as preparation rather than legal advice.
Clear information supports conversations about the listing, buyer questions, and offer review. It also helps distinguish a missing document from an unresolved property issue.
7. Complete a Final Listing-Readiness Review
Complete one walkthrough before listing photography and another immediately before showings. Use the same route each time.
- Test lights and replace burnt-out bulbs.
- Check temperature, ventilation, odours, surfaces, floors, mirrors, and windows.
- Open blinds where appropriate and keep pathways clear.
- Remove bins, dishes, laundry, pet items, valuables, and personal documents.
- Confirm doors, cabinets, closets, appliances, and fixtures can be viewed safely.
- Check the entry, exterior areas, balcony, garage, storage space, and parking access.
- Prepare instructions for pets, alarms, access, showing restrictions, and special care.
- Record unresolved questions instead of assuming they will not arise.
Once the property passes the walkthrough, align the presentation with the listing information and showing plan. Sellers can review listing presentation and MLS preparation to consider which details and images accurately represent the property.
When to Discuss the Preparation Plan With a Real Estate Professional
Speak with a real estate professional before spending heavily on upgrades, especially when choosing between an essential repair and an optional renovation. The discussion should connect the property’s condition with presentation, pricing conversations, marketing, and offer review.
Qasim Khan Real Estate provides seller guidance in Mississauga and across GTA communities, including property preparation, presentation, pricing conversations, marketing, and offer review. Before listing, use this checklist to organize property preparation, then discuss presentation and pricing for the specific home or condo.
A useful conversation should identify what must be completed, what can improve the showing experience, what can wait, and what information needs confirmation. Not every seller needs professional staging, a major renovation, or the same preparation schedule.
Frequently Asked Questions
Does every room need to be professionally staged before selling?
No. Every room should be clean, accessible, and understandable, but professional staging is not automatically necessary. Decluttering, sensible furniture placement, working lighting, and a clear room purpose may be enough. The right approach depends on the home, its condition, furnishings, photography plan, and timeline.
Which repairs should sellers prioritize before listing?
Start with safety concerns, defects affecting basic function, active maintenance problems, and highly visible damage. Examples include loose railings, broken lights, leaking fixtures, damaged hardware, and unfinished surfaces. Cosmetic renovations should be considered separately because their cost and usefulness may not justify a larger project.
When should I start preparing my home for listing photos and showings?
Begin early enough to sort, repair, clean, and organize without rushing. Preparation should be substantially complete before photography, with time left for a final walkthrough, document review, access planning, and adjustments identified during the listing discussion.
Conclusion: Prepare for Clarity, Not Perfection
The strongest seller preparation usually follows a practical order: remove distractions, clean thoroughly, address visible and safety-related concerns, improve the entry, present each room clearly, organize property information, and complete a final readiness review. This helps you spend time and money where buyers are most likely to notice the property without assuming that a major renovation is required.
For sellers in Mississauga and the broader GTA, a local conversation can connect this checklist with the property’s presentation, pricing, marketing, and offer-review plan. Qasim Khan Real Estate provides seller representation and property preparation guidance for residential clients across the GTA.
Written by
Qasim Khan
Real Estate Professional, QASIM KHAN Real Estate