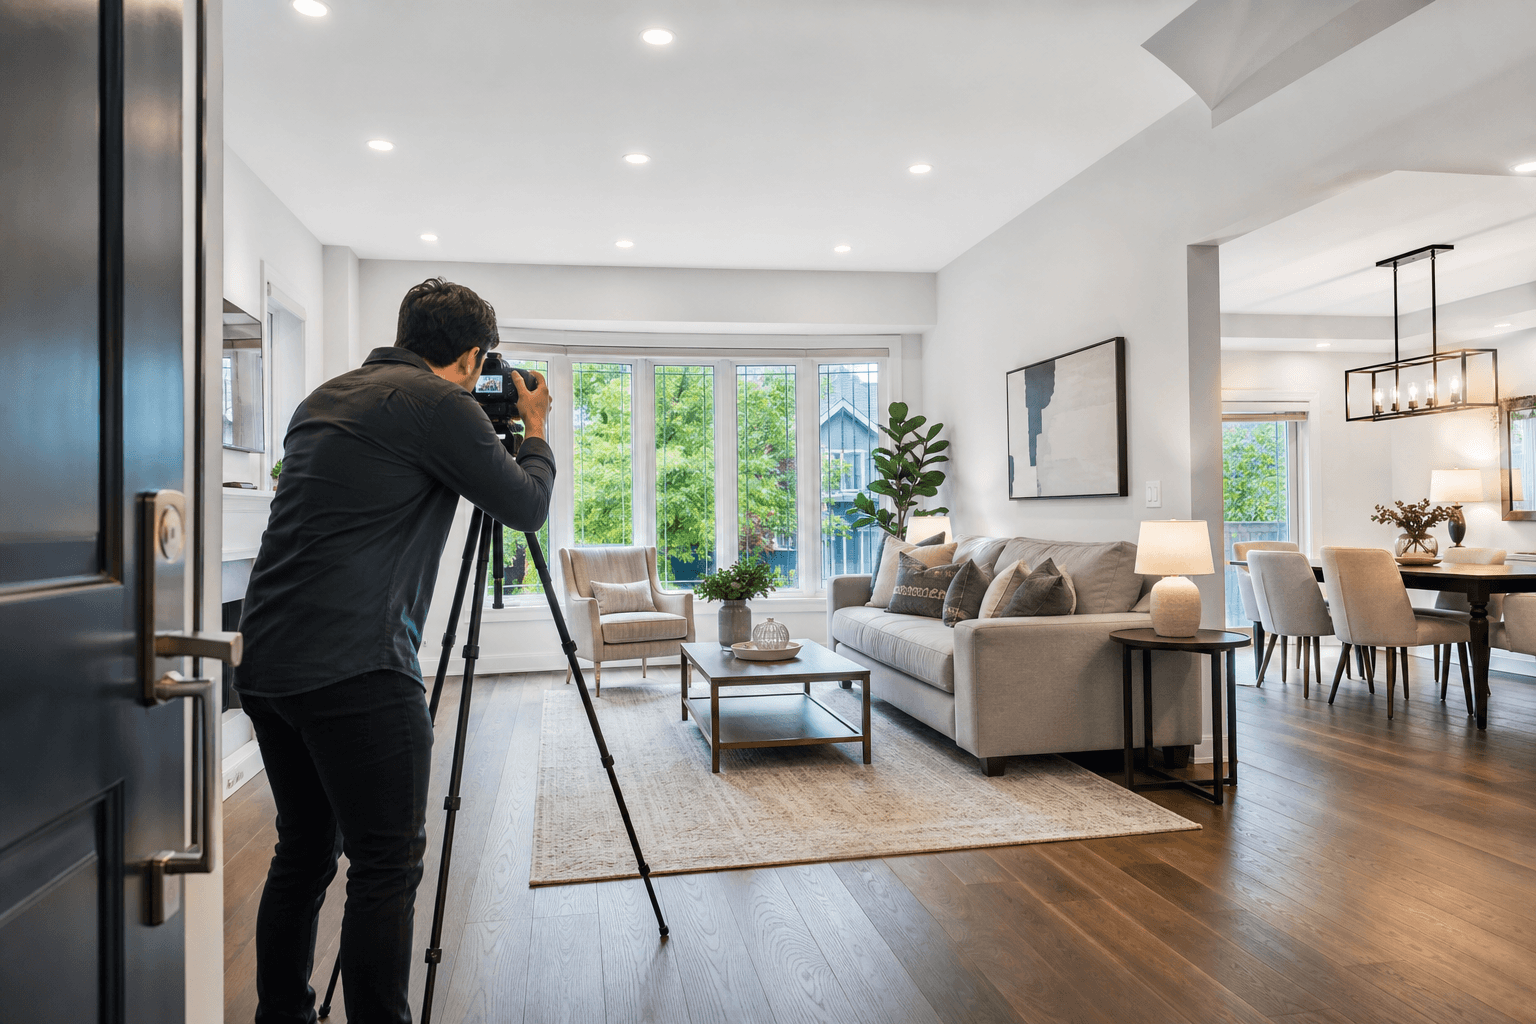
Learn listing photography best practices for preparing rooms, choosing useful shots, avoiding misleading angles, and checking photos before your property goes live.
Effective listing photography should do more than make a property look attractive. It should help prospective buyers understand the layout, proportions, condition, features, and relationship between spaces before deciding whether to book a viewing.
The strongest approach treats photography as both a presentation task and an accuracy check. Prepare each space carefully, capture the features buyers need to evaluate, and review the images alongside the written listing before publication.
Quick summary

- Declutter, clean, improve sightlines, and identify details that need accurate representation.
- Photograph principal rooms, bedrooms, bathrooms, storage, parking, outdoor areas, and relevant views.
- Use attractive composition without making rooms appear larger, brighter, newer, or more finished than they are.
- Compare images with property facts, feature details, pricing context, and showing instructions.
- Agree how image or listing corrections will be handled before and after publication.
What good listing photography must do
Strong listing photos answer practical questions. They show how buyers move through the home, what each room is used for, where key features are located, and how the property relates to outdoor spaces, parking, storage, or views.
Photography is not simply a styling exercise. As part of MLS listing optimization, images should remain consistent with verified property facts and help buyers understand spaces, condition, proportions, and relevant features.
Prepare the property before the photo session

Walk through the property before the session and decide what should be removed, cleaned, repaired, clarified, or deliberately shown. The goal is not to hide every sign of normal use. It is to make the property’s actual features easier to understand.
- Reduce visual clutter: Clear excess items from counters, floors, shelving, and bathroom surfaces.
- Improve sightlines: Open doors where they clarify connections between rooms and remove obstructions.
- Clean visible surfaces: Pay attention to windows, mirrors, floors, appliances, counters, and fixtures.
- Remove private information: Check documents, mail, screens, photographs, and noticeboards.
- Identify features and limitations: Note renovations, storage, parking, outdoor areas, unfinished work, and unusual layouts.
- Confirm the facts: Ensure room uses, inclusions, improvements, and feature descriptions are supportable.
Do not assume a very wide photograph can solve a preparation issue. A crowded room may show more in the frame while still leaving buyers unable to judge its usable scale.
Use a room-by-room shot checklist
A logical image set should explain the whole property rather than devote disproportionate attention to one attractive room. Coverage should reflect what a buyer needs to compare the home with other options.
Entrance and principal living spaces
Show the entrance when it helps establish how visitors enter the home. Photograph the living room, dining area, family room, and other principal spaces in ways that communicate layout and circulation. Views connecting rooms can be more useful than isolated photographs of attractive walls or features.
Furniture can help viewers judge proportions, while an overly broad angle can make a room appear deeper or wider than it feels. Windows, fireplaces, built-ins, flooring, and natural light may deserve emphasis when they affect the room’s function or character.
Kitchen, bedrooms, and bathrooms
Kitchen photographs should make cabinetry, counters, appliances, work areas, and adjacent rooms visible. Decorative items should not obscure features buyers are likely to compare.
For bedrooms, show enough of the room to communicate proportions, windows, access, storage, and practical furniture placement. If a room is used as an office, nursery, or den, describe its use accurately without implying a different legal or structural status. Bathroom images should show main fixtures, finishes, storage, and overall condition.
Storage, parking, outdoor areas, and views
Secondary spaces can be decisive, particularly when they affect daily use. Consider closets, laundry areas, basement storage, garages, parking spaces, balconies, patios, yards, terraces, and relevant amenities.
Show outdoor areas in a way that communicates their relationship to the home. If a view, exposure, access point, neighbouring structure, or other limitation materially affects understanding, it should not be concealed by selective framing.
Attractive presentation versus accurate representation
Attractive presentation and accurate representation are not opposing goals. Good composition, tidy rooms, balanced light, and thoughtful framing can make a property easier to understand. Problems begin when editing, perspective, or selective coverage creates an impression the property cannot support.
| Presentation choice | Useful when | Risk to check |
|---|---|---|
| Wide room view | It explains layout and connections. | It may exaggerate size or distort proportions. |
| Brightened exposure | It reveals finishes and features clearly. | It should not conceal condition or dark areas. |
| Focused feature image | It highlights a genuine renovation or detail. | It should not imply greater size or scope. |
| Selective framing | It removes irrelevant clutter. | It should not hide a material limitation. |
Be careful with images that make a room appear substantially larger, imply that furniture or fixtures are included, or suggest an unfinished area is complete. A photo need not show every imperfection, but it should not contradict the written details.
Coordinate photos with the complete MLS listing
Review photographs as part of the full listing. Compare them with property facts, the description, feature details, location information, pricing context, and showing instructions. The listing should tell one consistent story from the first image through the final detail.
| Review question | What to check |
|---|---|
| Image accuracy | Does each image represent the actual property and current condition? |
| Missing feature | Is an important room, improvement, storage area, or parking space absent? |
| Misleading impression | Could the angle, crop, or editing materially change understanding? |
| Copy consistency | Do room uses, finishes, appliances, inclusions, and improvements match? |
| Privacy and safety | Do images reveal documents, valuables, access information, or private screens? |
| Correction process | Who will replace an image or update a detail if needed? |
When aerial or drone imagery is appropriate
Aerial imagery can help when the surrounding setting, lot, exterior layout, or relationship to nearby features matters to buyers. It is optional and does not replace clear ground-level photographs.
Drone use must be assessed separately from ordinary listing photography. In controlled airspace, Transport Canada states that pilots need the required advanced pilot certificate, an appropriately declared drone, and authorization from the air navigation service provider. Verify current requirements before arranging aerial work through Transport Canada’s drone guidance.
Final review before publication
- Does the image order give a coherent sense of the property?
- Are principal rooms and relevant secondary spaces covered?
- Do angles preserve a credible sense of scale?
- Do visible features match the written description?
- Are inclusions, exclusions, condition details, and room uses accurate?
- Have privacy and safety concerns been checked?
- Are captions, showing instructions, pricing context, and location details consistent?
- Who approves corrections before and after publication?
How sellers can use this process with their representative
Ask which preparation tasks matter most, which features deserve priority, how images will be coordinated with listing copy, and who reviews the final materials. Photography should support the wider listing strategy rather than operate as a disconnected marketing asset.
Qasim Khan Real Estate supports property preparation, positioning, marketing, communication, and offer review for sellers across Mississauga and the broader GTA, including Brampton, Oakville, Toronto, Milton, and Vaughan.
Frequently asked questions
Should every room have a listing photo?
Not necessarily, but buyers should receive enough coverage to understand the layout, principal rooms, relevant features, and material limitations. Omitting a meaningful space can create uncertainty, while repetitive images add little information.
Can wide-angle photos make a room look misleadingly large?
Yes. Wide views can explain layout but may distort proportions. Check whether furniture, doorways, and room connections support the impression the photograph creates.
How should sellers review listing photos?
Review each image beside the property facts, feature details, description, and showing information. Look for missing features, inaccurate room uses, hidden limitations, privacy concerns, and visual impressions the written listing cannot support.
Is drone photography always allowed in Canada?
No. Drone operations may involve airspace restrictions, pilot qualifications, aircraft requirements, and authorization. Confirm current requirements for the specific operation and location.
Conclusion: make the property easy to understand
The strongest listing photography balances attractive presentation with faithful representation. Prepare the property, photograph the spaces buyers need to evaluate, preserve credible proportions, and check every image against the complete listing before publication.
For help coordinating property preparation, positioning, marketing, communication, and offer review across Mississauga and the GTA, sellers can speak with Qasim Khan Real Estate.
Written by
Qasim Khan
Real Estate Professional, QASIM KHAN Real Estate